Welcome to the culinary conundrum that’s been tickling taste buds and sparking debates for ages—fermented vs. pickled. While both processes extend the shelf life of foods and enhance flavors, they are distinct in their methods and benefits. Let’s dive into the delicious world of fermentation and pickling and uncover what sets them apart.
Fermentation: A Natural Process
Fermentation is a metabolic process that converts sugar to acids, gases, or alcohol, performed by microorganisms like bacteria and yeast. This natural process not only preserves food but also enhances its nutritional profile. Here are key points about fermentation:
- Microbial Magic: Fermentation relies on naturally occurring bacteria and yeasts. These microorganisms consume the sugars in the food and produce lactic acid, alcohol, or acetic acid, which act as natural preservatives.
- Health Benefits: Fermented foods are rich in probiotics, which are beneficial for gut health. They can improve digestion, boost the immune system, and even support mental health.
- Examples: Common fermented foods include sauerkraut, kimchi, yogurt, kefir, and kombucha. Each of these foods undergoes a specific fermentation process that gives them their unique flavors and health benefits.
Pickling: A Tangy Tradition
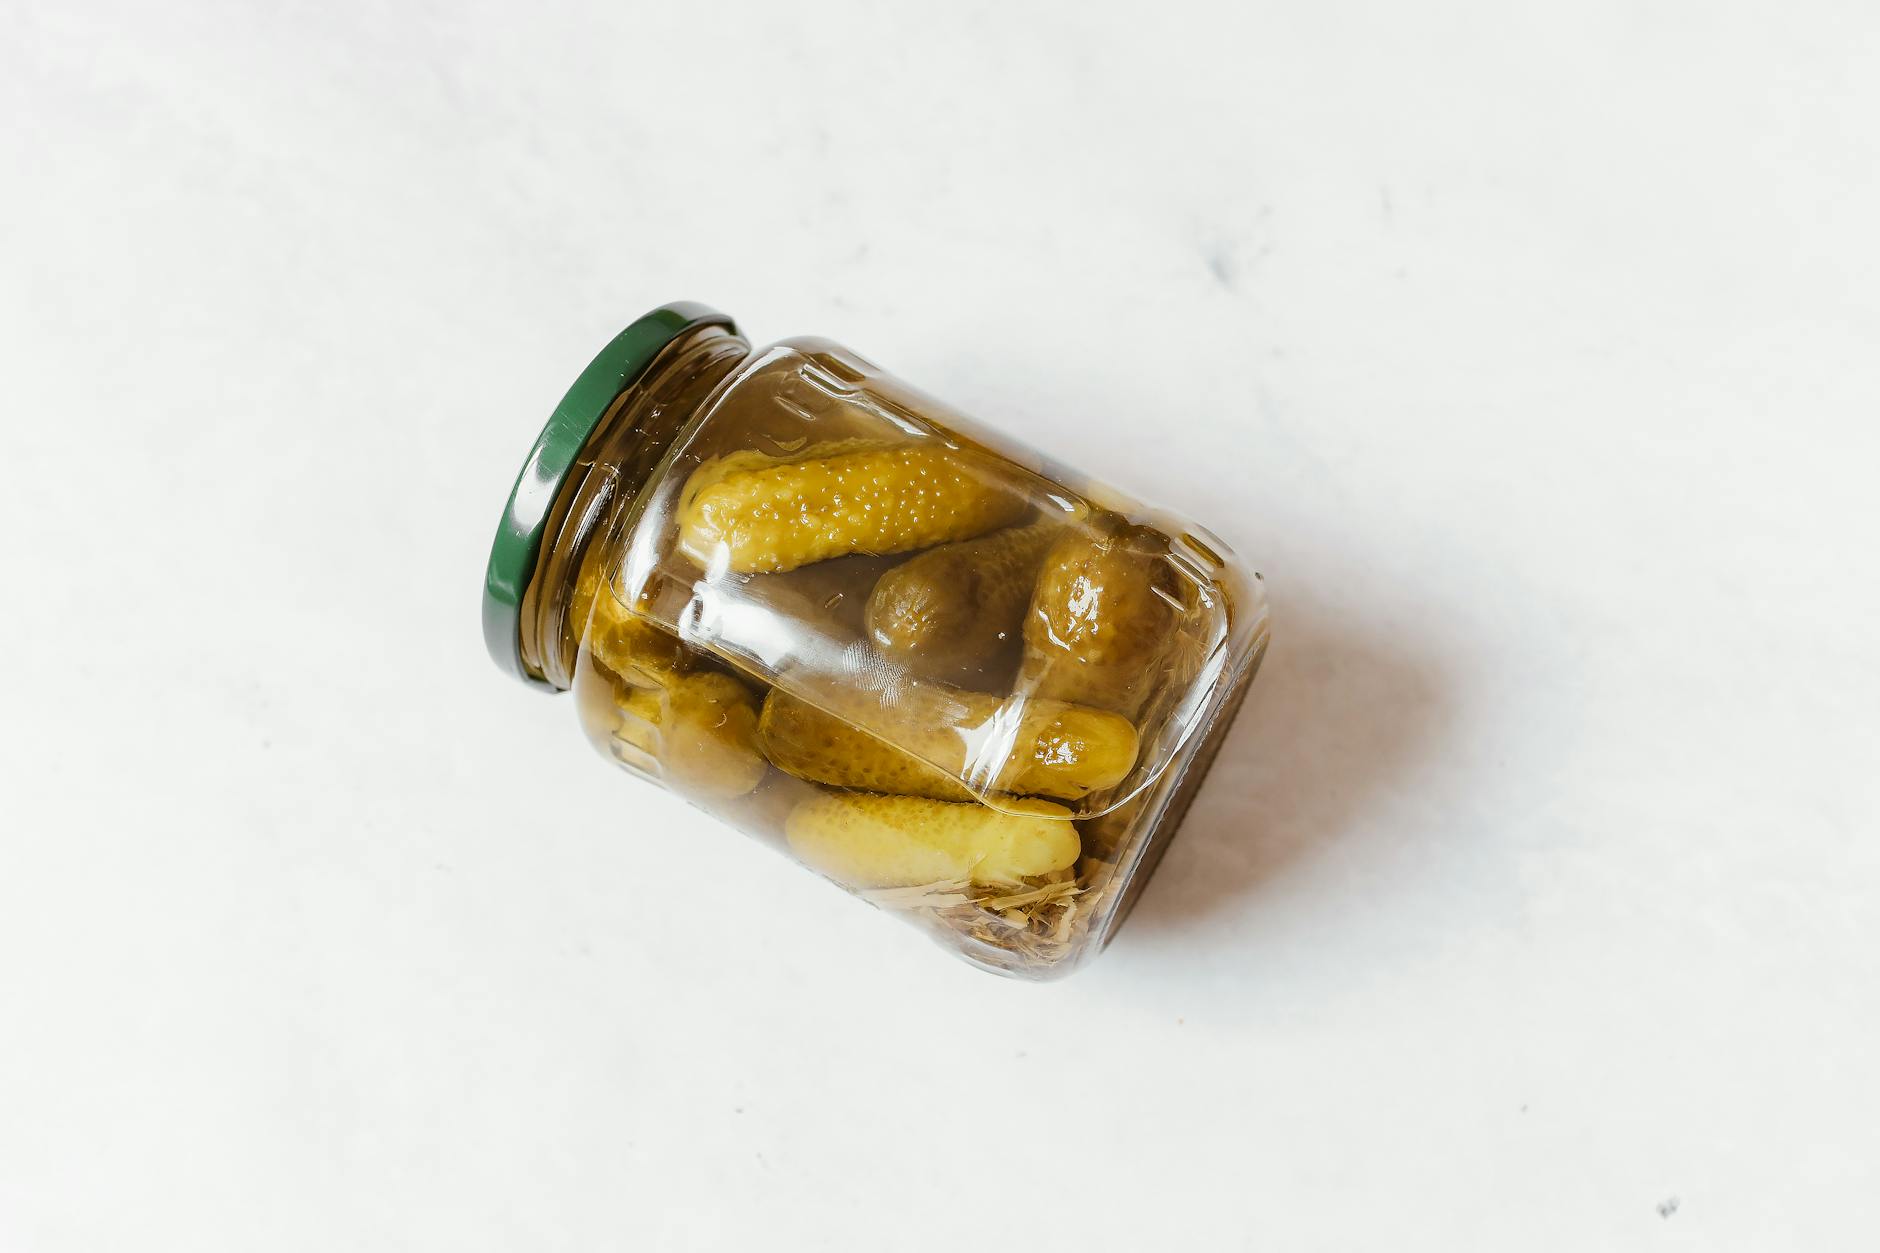
Pickling, on the other hand, involves preserving food in an acidic solution, typically vinegar. This method creates a tangy and flavorful result. Here are key points about pickling:
- Acidic Brine: Pickling requires an acidic solution, usually vinegar, which inhibits the growth of spoilage bacteria. The acidity level is crucial for ensuring the safety and longevity of the pickled product.
- Quick and Convenient: Pickling is generally faster and simpler than fermentation. Foods can be pickled in a matter of hours to days, depending on the recipe.
- Examples: Common pickled foods include pickles (cucumbers), onions, carrots, and jalapeños. These foods are often used as condiments or snacks and add a tangy punch to dishes.
Key Differences
- Method of Preservation:
- Fermentation: Uses natural microorganisms to convert sugars into preserving agents like lactic acid.
- Pickling: Uses an acidic brine (vinegar) to create an environment that prevents spoilage.
- Health Benefits:
- Fermentation: Enhances the nutritional value by producing probiotics, which promote gut health.
- Pickling: May provide some nutritional benefits but lacks the probiotics found in fermented foods.
- Flavor Profile:
- Fermentation: Can produce complex flavors and effervescence due to microbial activity.
- Pickling: Produces a tangy, acidic flavor primarily from the vinegar solution.

Which One Is Better?
Choosing between fermented and pickled foods depends on personal preference and dietary goals. If you’re looking for probiotic-rich foods to support gut health, fermented foods are the way to go. If you’re after quick, tangy, and flavorful additions to your meals, pickled foods are an excellent choice.
Recipes:
Classic Pickled Cucumbers Recipe
Pickling cucumbers is a simple and delightful way to preserve their crispiness and enhance their flavor with tangy brine. Here’s a straightforward recipe to get you started with making your own pickled cucumbers:
Ingredients:
- 6-8 small cucumbers (kirby cucumbers work well)
- 4 cups water
- 4 cups white vinegar
- 1/4 cup sugar
- 1/4 cup kosher salt
- 6 cloves garlic, peeled
- 2 tablespoons pickling spice
- 1 teaspoon mustard seeds
- 1 teaspoon dill seeds
- Fresh dill sprigs
- 1 teaspoon red pepper flakes (optional for a spicy kick)
- 4-5 sterilized glass jars with lids
Instructions:
- Prepare the Cucumbers: Wash the cucumbers thoroughly. Slice them into rounds, spears, or leave them whole, depending on your preference.
- Create the Brine: In a large pot, combine water, vinegar, sugar, and salt. Bring the mixture to a boil over medium-high heat, stirring until the sugar and salt dissolve completely.
- Pack the Jars: Place garlic cloves, fresh dill sprigs, pickling spice, mustard seeds, and dill seeds at the bottom of each sterilized glass jar. If you like a bit of heat, add red pepper flakes.
- Add the Cucumbers: Pack the cucumbers tightly into the jars, leaving some space at the top.
- Pour the Brine: Carefully pour the hot brine over the cucumbers in each jar, ensuring they are fully submerged. Leave about 1/2 inch of headspace at the top of the jars.
- Seal the Jars: Wipe the rims of the jars with a clean cloth to remove any brine. Place the lids on the jars and screw the bands on tightly.
- Cool and Refrigerate: Let the jars cool to room temperature. Once cooled, place the jars in the refrigerator. Allow the pickles to sit for at least 24 hours before enjoying them to let the flavors develop.
Homemade Sauerkraut Recipe
Fermented foods are not only delicious but also packed with probiotics that promote gut health. Sauerkraut, a classic fermented cabbage dish, is simple to make at home with just a few ingredients. Here’s how you can create your own homemade sauerkraut:
Ingredients:
- 1 medium head of green cabbage (approximately 2-3 pounds)
- 1 tablespoon kosher salt or sea salt (non-iodized)
- 1 tablespoon caraway seeds (optional, for flavor)
Instructions:
- Prepare the Cabbage:
- Remove any damaged or wilted outer leaves from the cabbage.
- Cut the cabbage into quarters and remove the core.
- Slice the cabbage into thin strips using a knife, mandoline, or food processor.
- Salt the Cabbage:
- Place the shredded cabbage in a large mixing bowl.
- Sprinkle the salt over the cabbage.
- Massage the cabbage with your hands for about 5-10 minutes. The cabbage will begin to release liquid and soften.
- Add Flavor (Optional):
- If desired, add caraway seeds or other spices for additional flavor.
- Mix the seeds evenly into the cabbage.
- Pack the Cabbage into a Jar:
- Transfer the cabbage and its liquid into a clean, wide-mouth quart-size glass jar.
- Press the cabbage down firmly using a tamper or the back of a spoon to remove air pockets and submerge the cabbage in its liquid.
- Leave about 1-2 inches of headspace at the top of the jar.
- Weigh Down the Cabbage:
- Place a weight on top of the cabbage to keep it submerged under the brine. This can be a small jar filled with water, a fermentation weight, or a clean stone.
- Cover the Jar:
- Cover the jar with a clean cloth, coffee filter, or fermentation lid to allow gases to escape while keeping dust and bugs out.
- Secure the cover with a rubber band or string.
- Ferment:
- Place the jar in a cool, dark place (ideally between 65-75°F or 18-24°C) for 1-4 weeks.
- Check the sauerkraut daily to ensure the cabbage remains submerged in the brine. If any scum forms on the surface, skim it off.
- Taste and Store:
- After the first week, start tasting the sauerkraut. When it reaches your desired level of tanginess, it is ready.
- Remove the weight, cover the jar with a regular lid, and transfer the sauerkraut to the refrigerator. It will continue to develop flavor and can be stored for several months.
Whether you’re team fermented or team pickled, both methods offer unique tastes and health benefits. So why not enjoy the best of both worlds and incorporate a variety of these preserved delights into your diet?
Stay tuned for more culinary insights and tasty tips! Please like, share, and subscribe for more!🌟✨
#FermentedFoods #PickledFoods #HealthyEating #FoodPreservation #CulinaryTips #Pickledvsfermented
Copyright Notice
© 2025 Sofia Landry. All rights reserved.
The content on this blog, including text, graphics, images, and other material, is protected by copyright law. Unauthorized use and/or duplication of this material without express and written permission from this blog’s author and/or owner is strictly prohibited. Excerpts and links may be used, provided that full and clear credit is given to Sofia Landry with appropriate and specific direction to the original content.
